- Install and configure Experience Platform Web SDK Extension.
- Install and configure Experience Cloud ID Service Extension.
- Install and configure Adobe Client Data Layer Extension.
Install and Configure Experience Platform Web SDK Extension
Note: Ensure you have created a Data stream and a T ag property for Luma Website
-
Ensure the Tag Properties page with the property that you created in the previous activity is open.
-
Click Luma Website Property, as shown:
 The Luma Website Property page opens.
 -
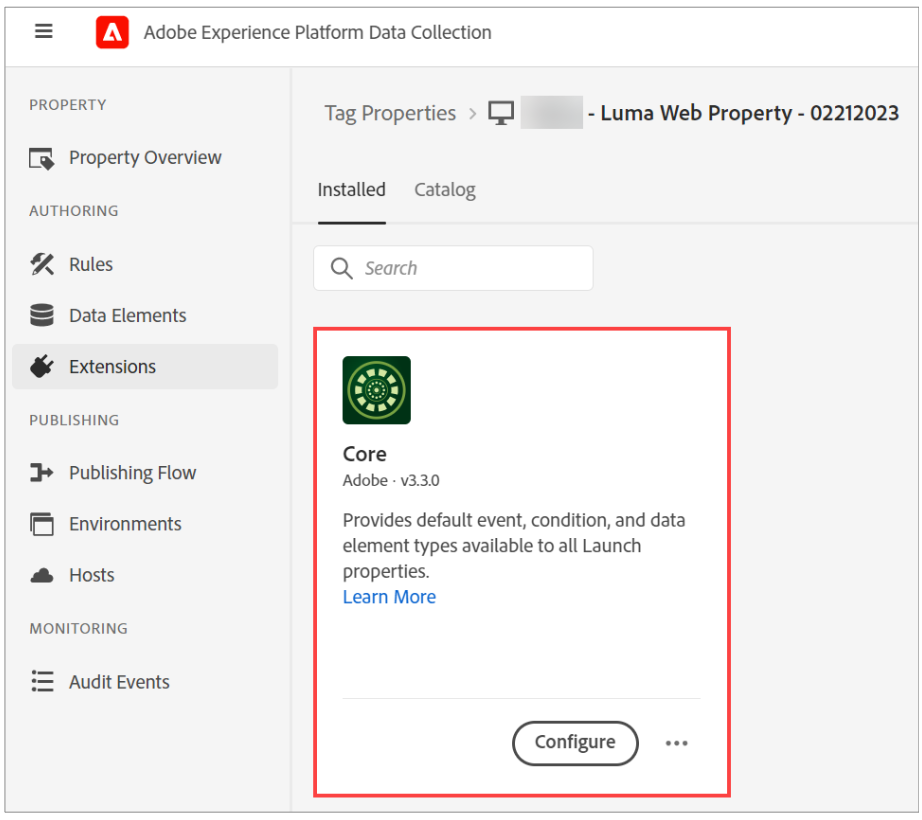
On the left pane, click Extensions. The installed extensions are displayed.
-
Notice that the Core extension is installed by default, as shown:
-
Click the Catalog tab, as shown:
 All available extensions are displayed.
 -
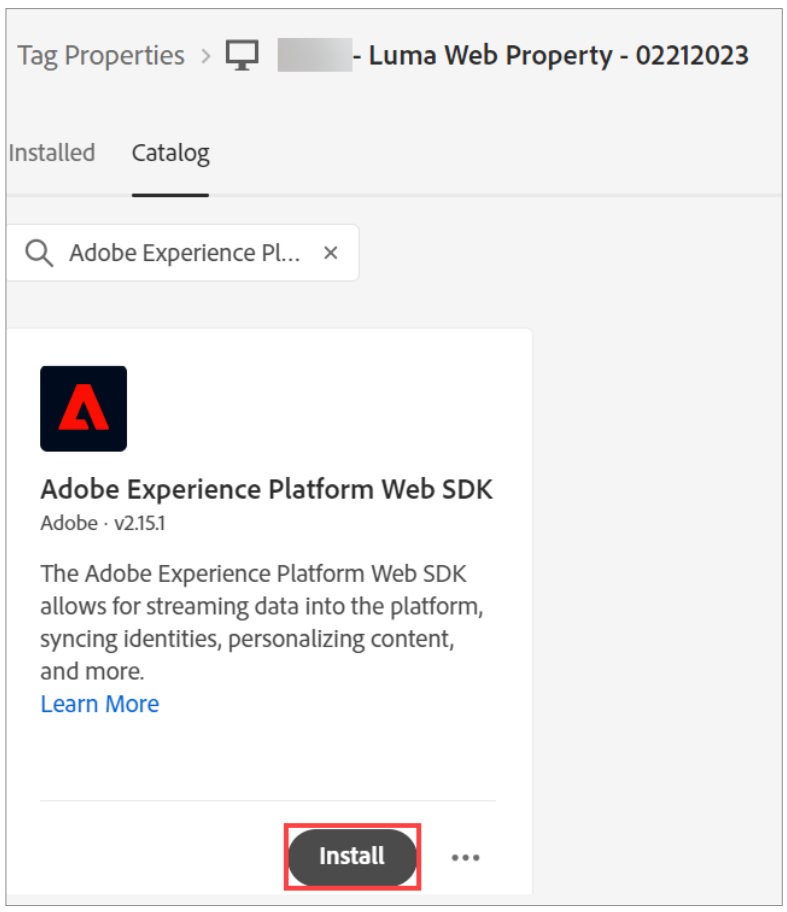
In the Search box, type Adobe Experience Platform and press Enter. The Adobe ExperiencePlatform Web SDK appears.
-
Click Install, as shown:
 The Install Extension page opens. You can configure the extension in this page.
 -
Scroll down the page and look for Data Streams.
-
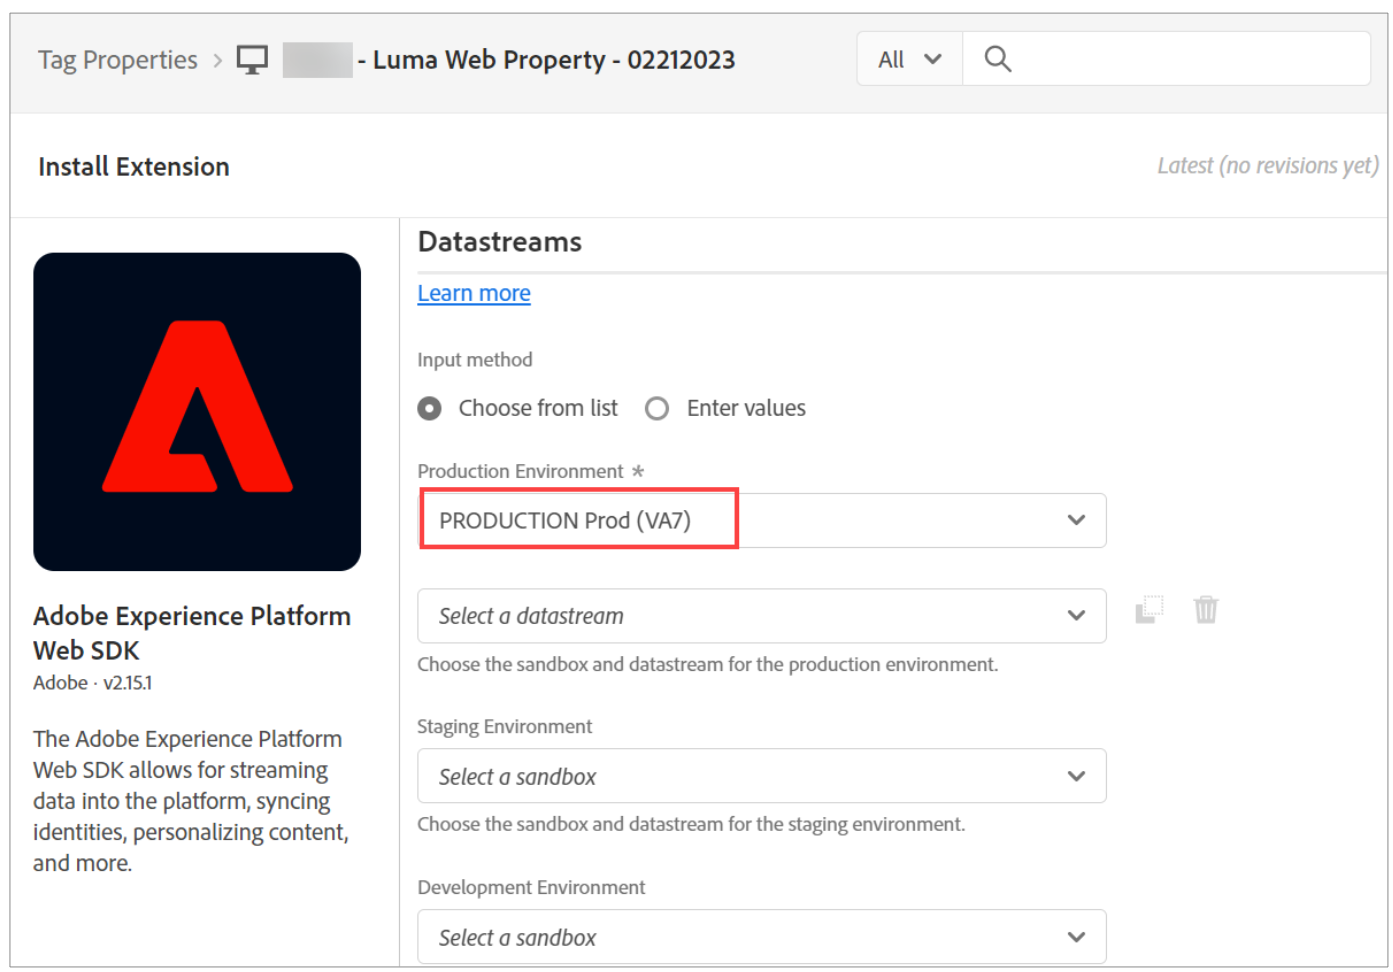
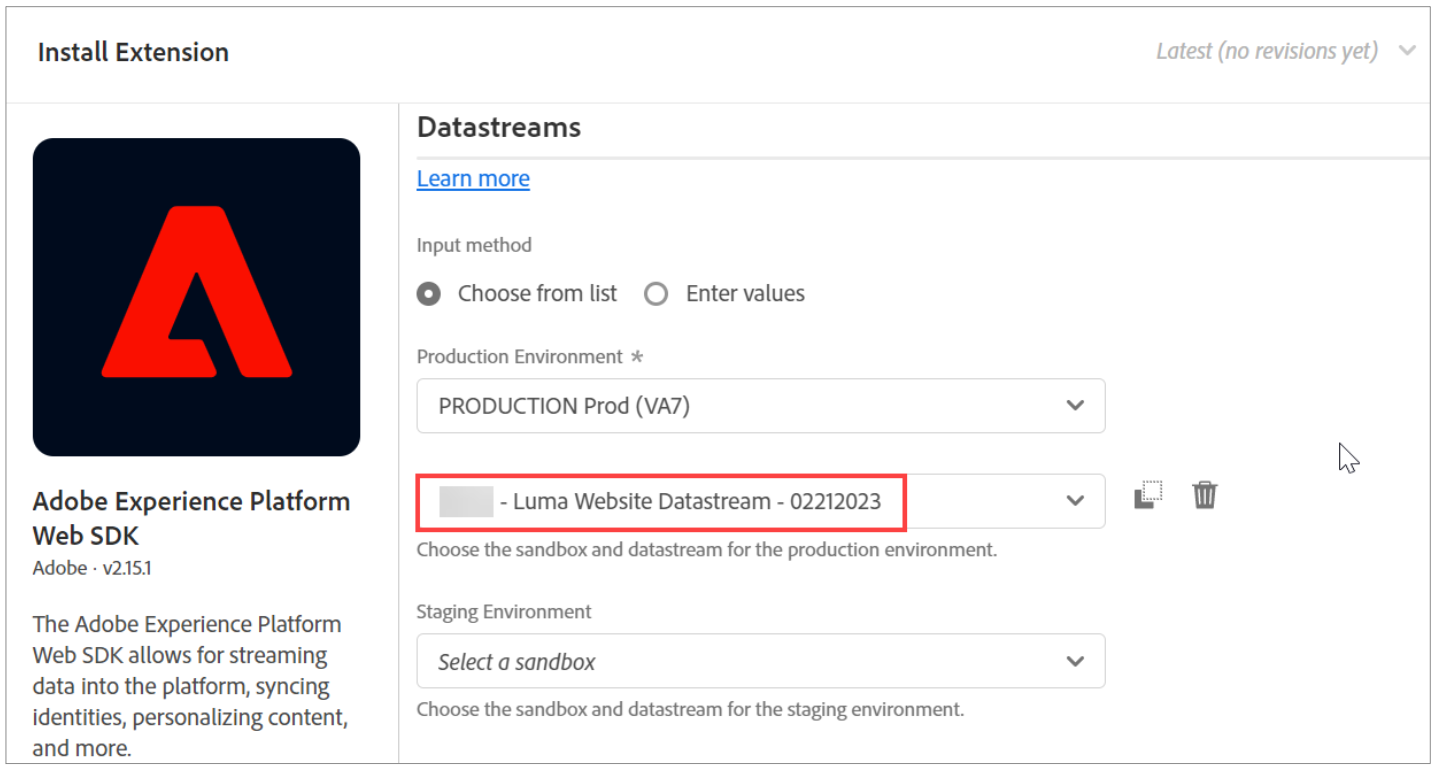
From the Production Environment dropdown, select PRODUCTION Prod (VA7), as shown:
-
From the Select a data stream dropdown, select the data stream that you created in previous activity,for example, Luma Website Data stream , as shown:
-
From the Staging Environment and Development Environment dropdowns, select PRODUCTIONProd (VA7).
-
For the Select a data stream dropdowns under Staging Environment and DevelopmentEnvironment, select the Data stream that you created in previous activity, for example, Luma Website Data stream.
-
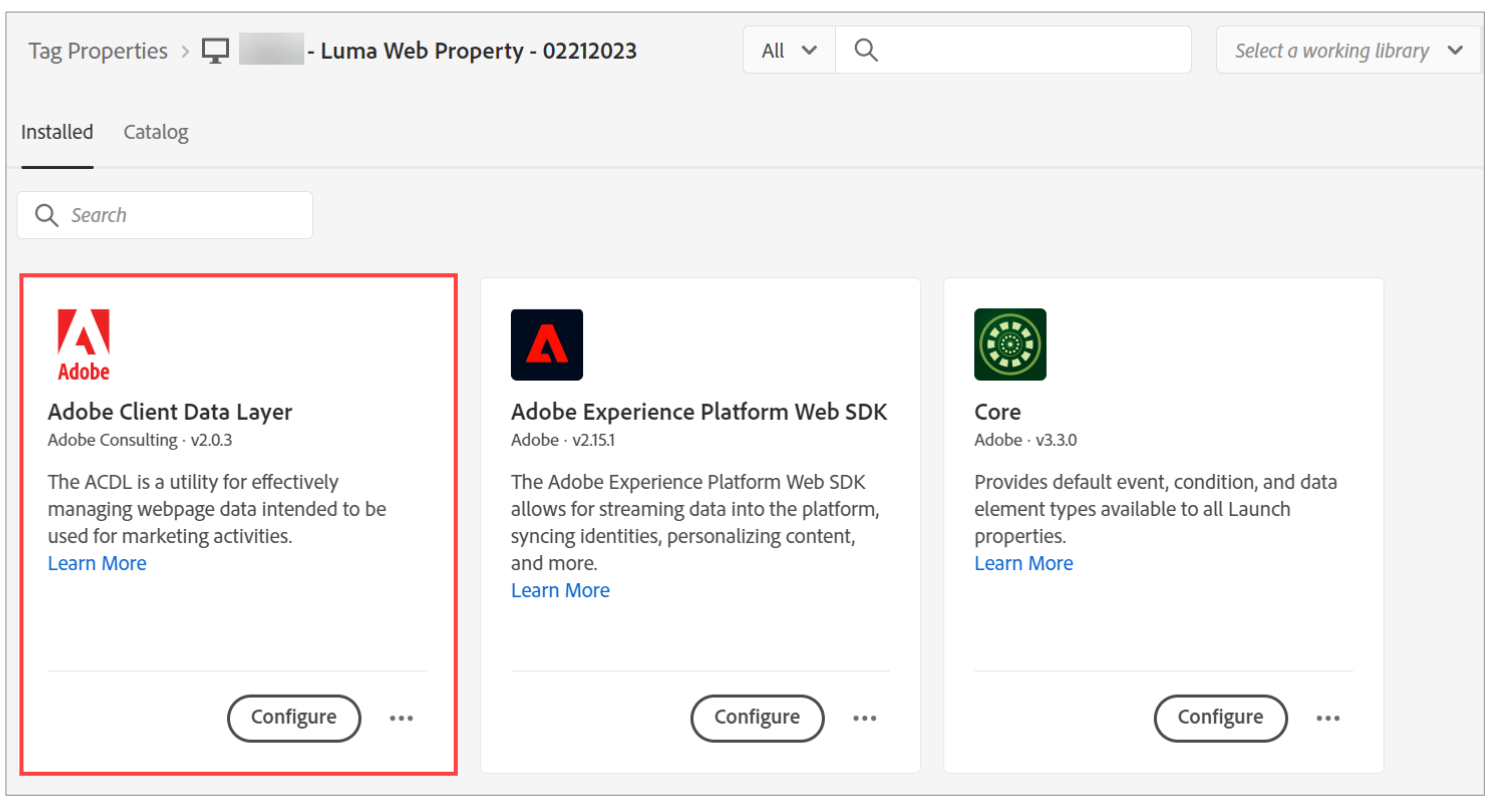
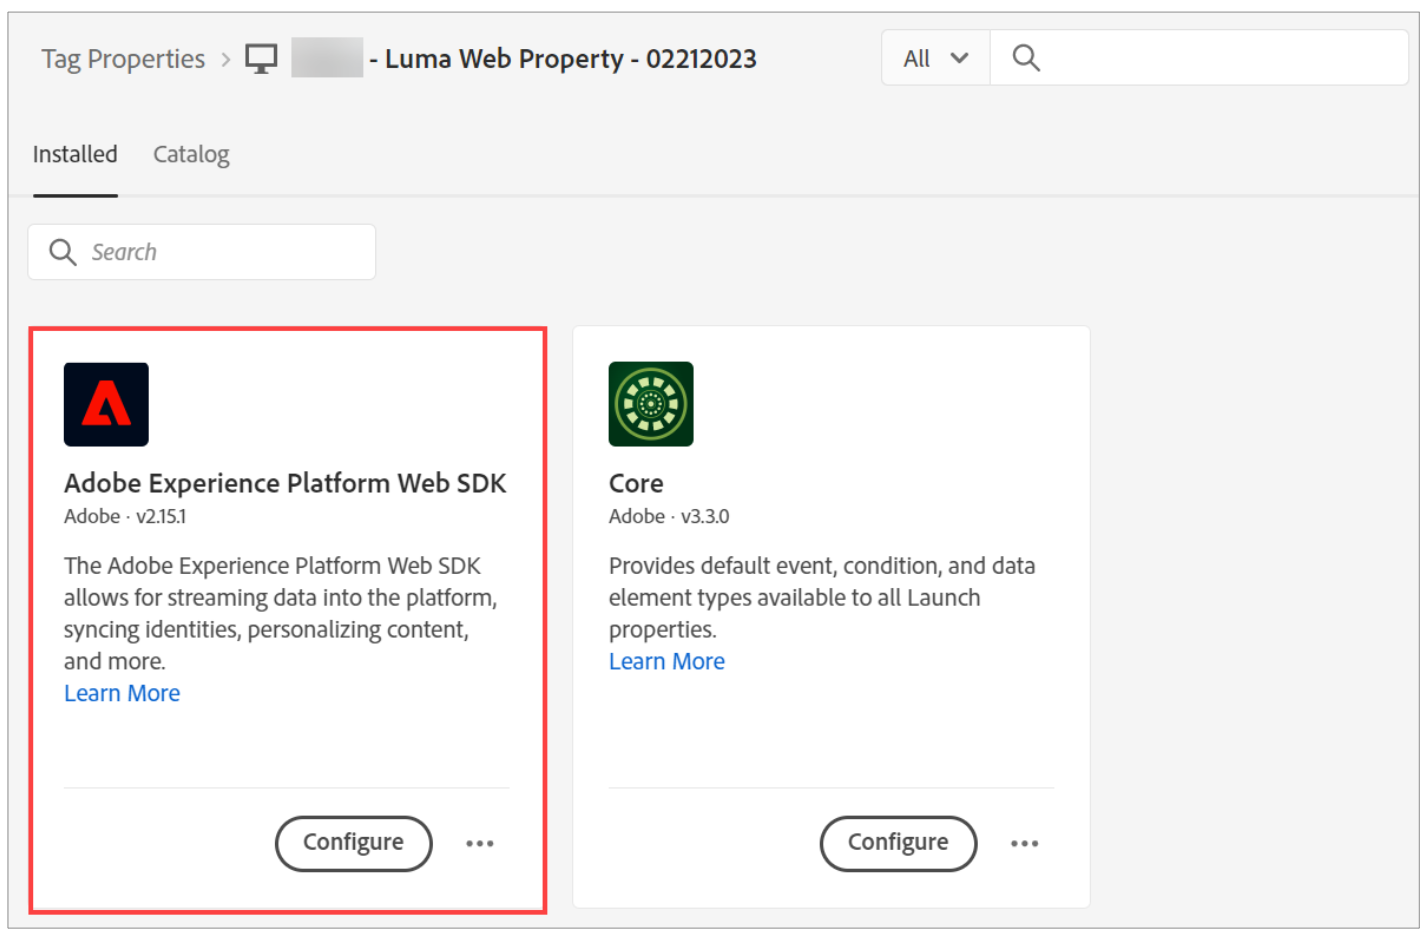
Click Save. The extension is configured and installed, and is now available on the Installed tab, as shown:
Note: You will use this extension in subsequent steps.
Install the Experience Cloud ID Service
The Experience Cloud ID Service extension enables you to integrate the Experience Cloud ID Service with the property you created earlier. You will use this service for creating and storing unique and persistent identifiers for your website visitors.
-
Ensure the Installed tab of Luma Web Property.
-
Click Catalog to access the available extensions.
-
In the Search box, type Experience Cloud and press Enter. The Experience Cloud ID Service appears.
-
Click Install, as shown:
 The Install Extension page opens.
 -
Notice that the Marketing Cloud Organization ID box is updated by default. The ID is a 24- character,alphanumeric string followed by @AdobeOrg.
Note: If the Marketing Cloud Organization ID box is not auto populated and if you do not know this ID, you need to contact the Customer Care.
-
Leave the Exclude specific paths box blank.
Note: If you update Exclude specific paths, the Experience Cloud ID does not load when the URL matches any of the specified paths.
-
Leave the Opt In and Variables sections blank
Note: In the Variables dropdown, you can set the name- value pairs as the ExperienceCloud ID instance properties, when required.
-
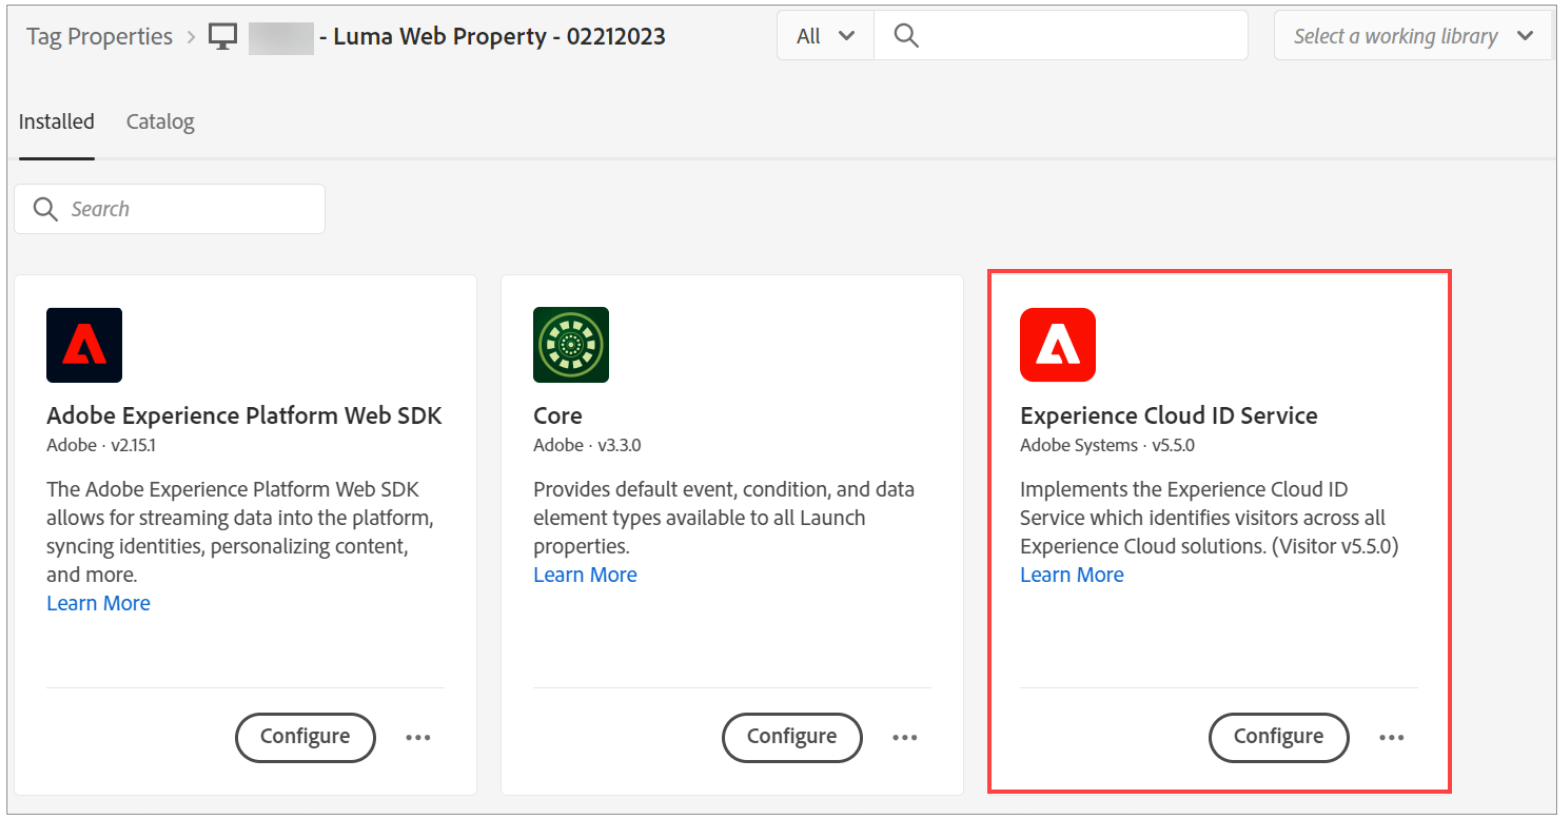
Click Save. The Experience Cloud ID Service extension will now be available on the Installed tab, as shown:
Install the Adobe Client Data layer Extension
- Ensure the Installed tab of Luma Web Property is open.
- Click Catalog to access the available extensions.
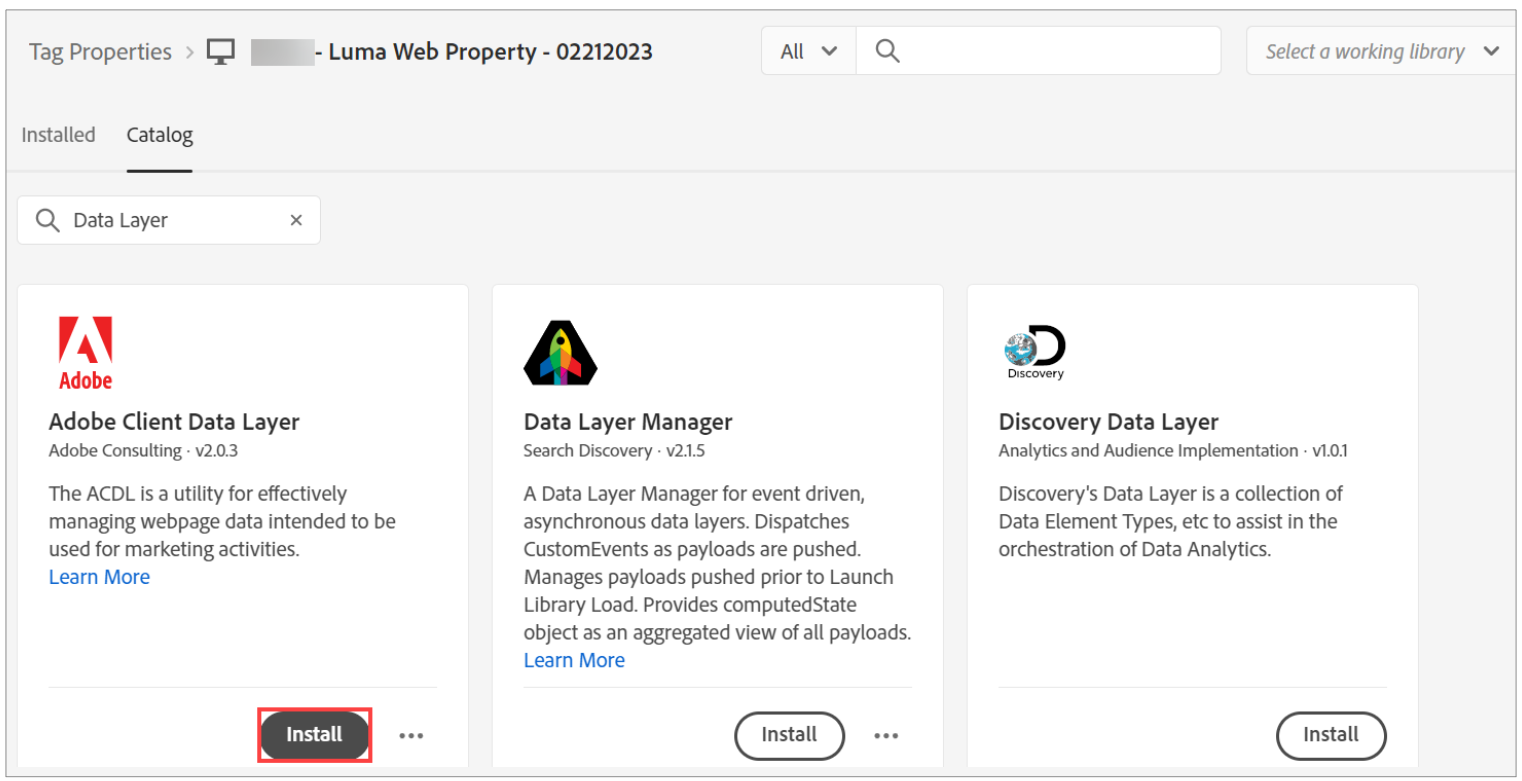
- In the Search box, type Data Layer and press Enter. The Adobe Client Data Layer appears.
- Click Install, as shown:
 The Install Extension page opens.
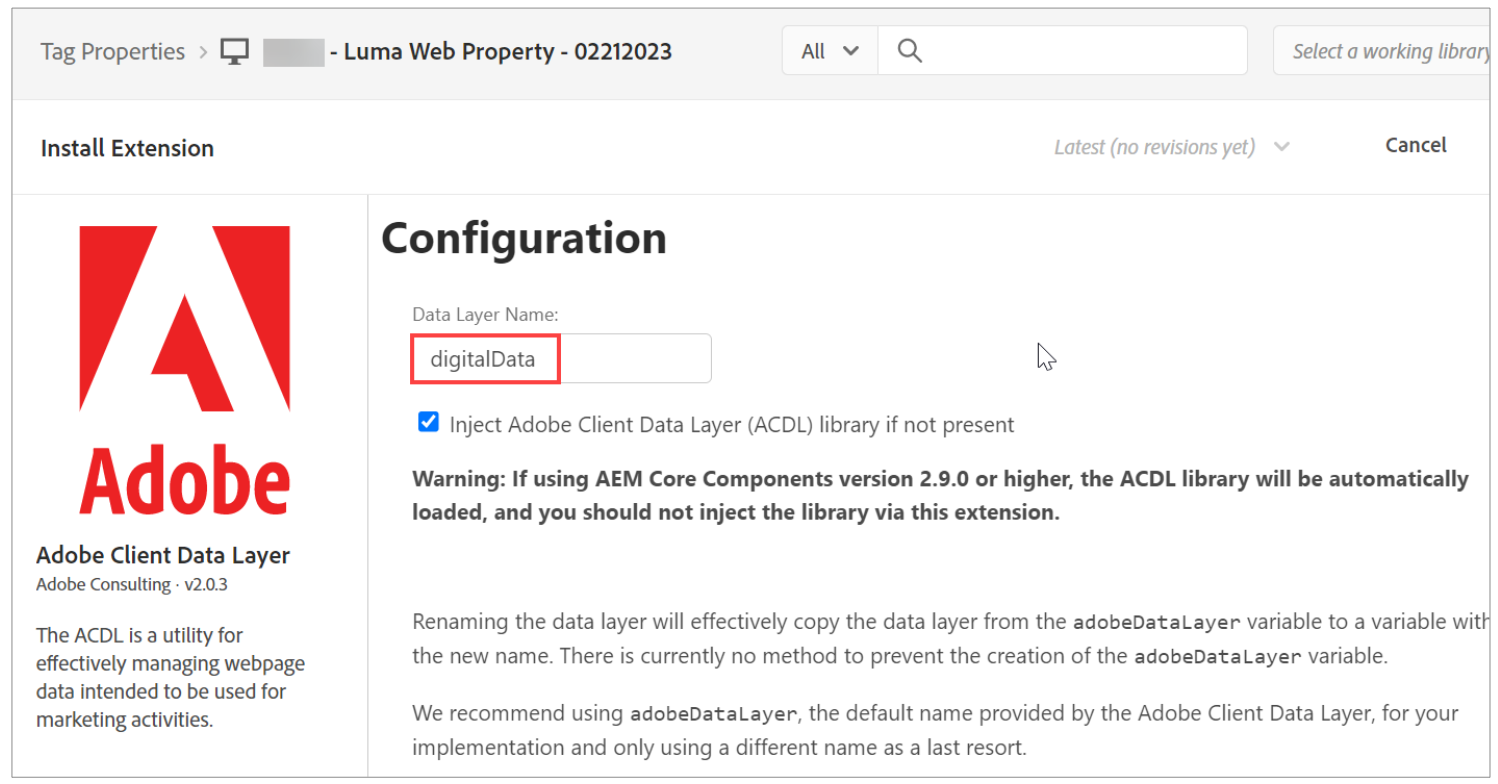
 - In the Data Layer name box, replace adobeDataLayer with digitalData from Luma Website, as shown:
- Click Save. The extension is installed and will now be available on the Installed tab, as shown:
