Prepare data for analysis
After creating a data view, you need to prepare the data, select a data view to use for reports, set thecalendar, and optionally create calculated metrics and dimensions for the reports. Finally, you create basic and advanced reports and share them with stakeholders in your organization.
- Create a project in CJA
- Create calculated metrics and dimensions
Task 1: Create a project in CJA
- Return to the Data View Menu, shown and identified your data view create Omni Channel Data View.
 Alternatively, you can navigate to the Project Menu, choose Create Project and select the data view to use.
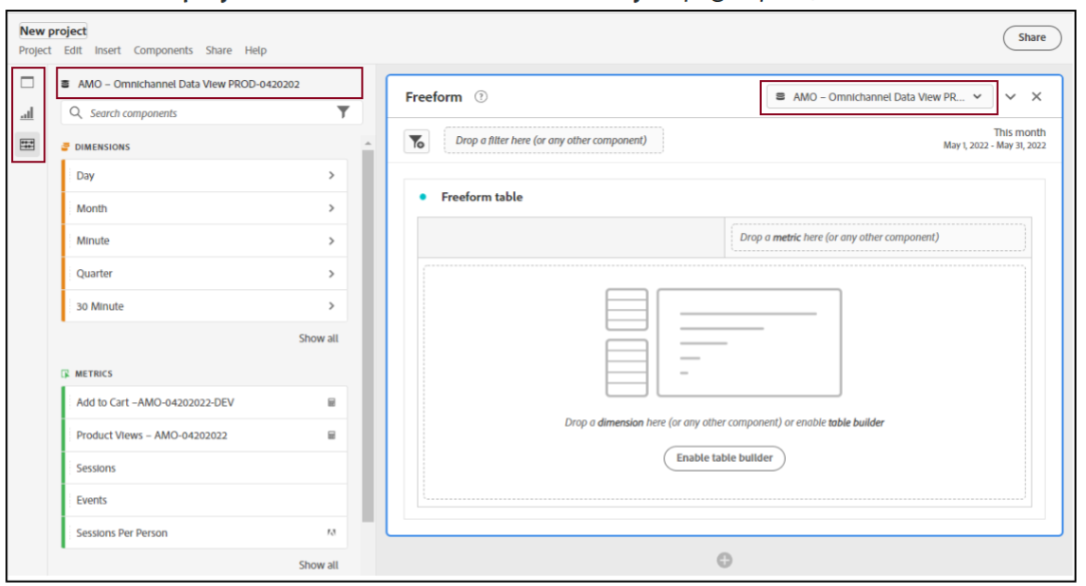
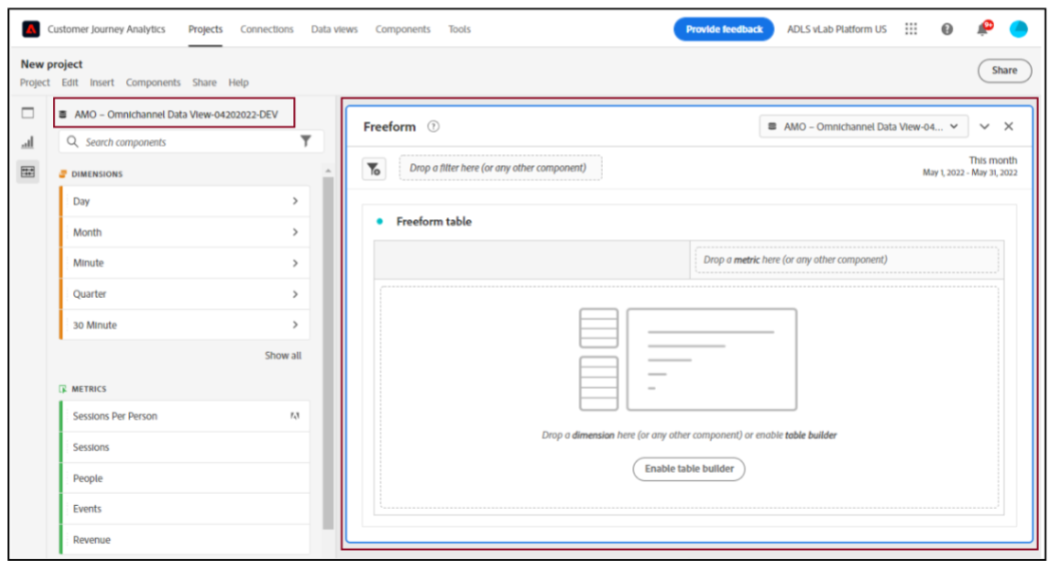
 - Click the Create project from the menu list. The New Project page opens, as shown

- Click Create New Project. The New Project page opens, as shown:
- In the Freeform section, ensure that the data view that you created is selected.
- Click the date range below the data view. A calendar opens

- Select a start date and end date. For this exercise, select 2023-01-01 as the start date and current date as the end date. Alternatively, you can also type the dates in the start date and end date boxes that appear at the right while selecting the dates
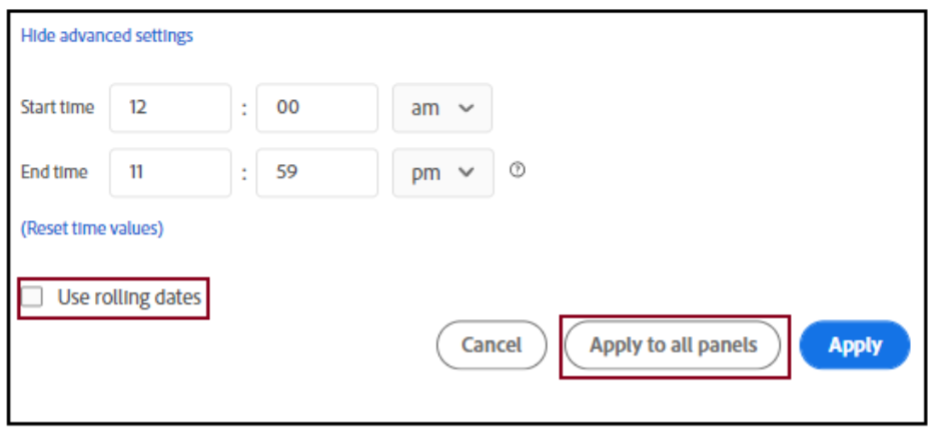
- Click the Show advanced settings link below the calendar to open the settings page, a s shown

- Select the Use rolling dates check box and click Apply to all panels to apply the changes.
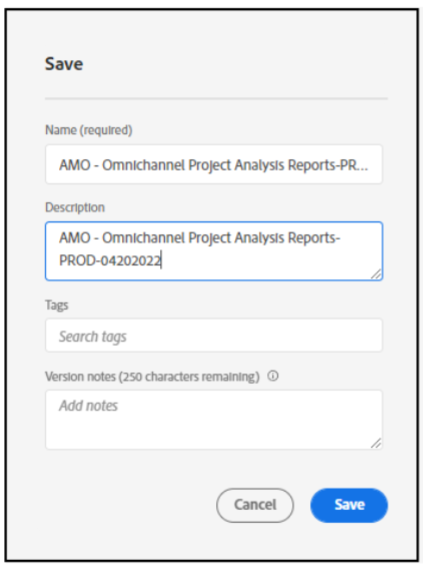
- Press the Ctrl + S keys (Windows) or the Command + S (Mac) keys. The Save Project dialog box opens, as shown:

- In the Project name box, type Omni Channel Project Analysis Reports.
- In the Description box, type an appropriate description for the project.
- Click Save to save the project.
